 Thistle & Seam

Think about the last time you bought something new. You trusted the tag, the packaging, maybe a store return policy. At a thrift store, none of that exists. The item in your hands has already lived a life you know nothing about, and the only inspector standing between you and a wasted five dollars is you.
That is why secondhand shopping rewards a slower, more hands-on approach. A few extra minutes of checking seams, stretching elastic and sniffing fabric can save you from bringing home something that falls apart in a week. Below is a practical walkthrough of what to look for, why it matters, and how to tell a fixable flaw from a dealbreaker.
Why Secondhand Shopping Needs a Different Checklist
When you buy new, the manufacturer has already done quality control. When you buy secondhand, that job falls to you, standing in a store aisle with fluorescent lighting and no mirror in sight. The item has already been worn, washed, maybe stretched out of shape or exposed to moisture. Your checklist needs to account for wear that has already happened, not just defects that might exist.
Here is a simple comparison: buying new clothing is like buying a car fresh off the lot, you're checking for factory defects. Buying secondhand is like buying a used car, you're checking for how the previous owner treated it. Did they skip oil changes? Did they drive it hard? With clothing, the equivalent questions are: did they wash it in hot water, did they wear it until the fabric gave out, did they store it somewhere damp?
This shift in mindset matters because thrift stores rarely offer refunds, and many operate on a "sold as-is" basis. A $4 sweater seems like a low-risk purchase, but if it unravels after one wash, you've paid $4 for nothing. The checklist that follows is designed to catch the kinds of damage that are easy to miss under store lighting but obvious once you get the item home.
Checking Stress Points: Underarms, Cuffs and Knees
Every garment has spots that take more abuse than the rest of the fabric. Think of them like the hinges on a door, they move constantly and wear out faster than the flat panels around them. On clothing, these stress points are the underarms, cuffs, collar edges, knees and crotch seams.
Start with underarms on any shirt, sweater or jacket. Hold the fabric up to the light and look for thinning, yellowing or small holes. Sweat and friction break down fibers here faster than almost anywhere else on the body. A sweater that looks pristine from the front can have underarm fabric so thin you could poke a finger through it.
Next, check cuffs and hems. Run your fingers along the edge of a sleeve or pant leg. Fraying threads are normal and often fixable, but if the fabric itself feels crisp or brittle compared to the rest of the garment, that's a sign of repeated washing and drying that has weakened the fibers permanently.
For pants, bend the knee area or look closely at the fabric weave. Worn denim or corduroy often shows a lighter, shinier patch at the knee where the fibers have thinned from repeated stretching. This isn't always a dealbreaker, but it tells you the garment has significant mileage left on it, not years of wear ahead.
- Underarms: check for discoloration, thinning, or small holes against the light.
- Cuffs and hems: feel for brittleness versus normal fraying.
- Knees and elbows: look for shine or thinning fabric from repeated bending.
- Crotch seams: inspect closely on pants, this area takes constant stress and is hard to repair invisibly.
How to Test if Elastic Has Lost Its Stretch
Elastic is a bit like a rubber band left in a kitchen drawer for ten years. It might look fine coiled up, but pull on it and it snaps or just goes limp instead of springing back. Clothing elastic, found in waistbands, cuffs, bra bands and sock tops, behaves the same way over time.
To test it, grip the elastic section with both hands and stretch it firmly, about as far as it would need to go when worn. Then let go and watch what happens. Good elastic snaps back to close to its original shape within a second. Elastic that has lost its stretch will either stay stretched out, return slowly, or feel loose and stringy under your fingers even before you pull it.
This matters most on items where the fit depends entirely on the elastic doing its job: leggings, swimwear, underwear, and waistbands on skirts or shorts without a zipper. A waistband that has lost its recoil will sag within hours of wearing, no matter how good the rest of the garment looks.
One more test worth doing: check if the elastic has separated from the fabric casing. Sometimes you'll feel a lump or a gap where the elastic band has twisted or bunched inside the waistband channel. This is sometimes repairable with a seam ripper and a needle, but it's extra work you should factor into whether the item is worth buying.
Spotting Repairable vs Unrepairable Damage
Not all damage means walk away. Some flaws take ten minutes and a needle to fix, others take a complete overhaul that costs more in time and thread than the item is worth. Knowing the difference helps you decide quickly instead of standing in the aisle debating.
A missing button, a loose hem, or a small seam that has popped open along a straight line are usually easy fixes. These repairs don't require matching fabric or advanced sewing skill, just basic hand stitching or a sewing machine set to a straight stitch.
On the other hand, moth holes in the middle of a sweater panel, a broken zipper on a lined jacket, or a tear that runs diagonally across a stress point like a knee or elbow usually require more serious intervention. These repairs often need patching, which changes the look of the garment, or professional tailoring, which can cost more than buying the item new.
| Damage Type | Repair Difficulty | Worth Buying? |
|---|---|---|
| Missing button | Easy, 5-10 minutes | Yes |
| Loose hem | Easy, 10-15 minutes | Yes |
| Straight seam split | Easy to moderate | Yes, if seam is accessible |
| Small moth hole in solid fabric | Moderate, needs patch or darning | Maybe, depends on visibility |
| Broken zipper, lined jacket | Hard, often needs a tailor | Only if price is very low |
| Diagonal tear at stress point | Hard, weak repair likely | Usually not |
If you're unsure whether a repair is within your skill level, it helps to ask yourself one question: have I fixed something like this before? If the answer is no, and the item isn't something you're excited to practice on, it's usually better to pass. For anything involving leather, structured jackets or delicate fabrics like silk, a professional tailor or cleaner can tell you honestly whether a repair is worth the cost.
Smelling and Inspecting Fabric for Hidden Issues
Smell is one of the most underused tools in thrift shopping, and it tells you things your eyes can miss. Hold the garment close and take a real sniff, not just a passing whiff. Musty or mildew smells suggest the item was stored somewhere damp, which can mean mold is present even if you can't see it. Mold isn't just an odor problem, it can trigger allergic reactions in some people, so if you're sensitive to mold or asthma, it's worth being cautious.
A strong chemical or mothball smell often means the item came from long-term storage, which isn't harmful by itself but may mean it's been sitting for years and could have weakened fibers from age alone. Smoke smell is notoriously hard to wash out completely, especially from wool, down or heavily lined jackets, so factor that into whether you're willing to live with a faint smell even after washing.
Beyond smell, check the fabric itself for small issues that are easy to miss under store lighting. Hold lighter fabrics up toward a window or bright light to check for thin spots or tiny holes you can't feel with your fingers. Look at any printed designs or logos for cracking or peeling, since this kind of damage usually gets worse with washing, not better.
Finally, check for stains in natural light rather than store fluorescents, which can mask yellow or brown discoloration. Flip collars and cuffs inside out, these spots often hide the most telling stains from sweat or makeup that didn't fully wash out the first time.
Common Mistakes
One common mistake is buying based on the brand name alone, assuming a recognizable label guarantees quality. A well-known brand can still have thinning fabric or shot elastic after years of wear. Another mistake is skipping the stretch test on elastic because the waistband looks fine visually, only to get home and find it has no recoil at all. Shoppers also tend to underestimate how long smoke or mildew smell can linger, buying an item assuming one wash will solve it when it sometimes takes several washes or doesn't fully go away. Finally, many people check only the front of a garment and skip the inside seams, where fraying and repairs are much easier to spot.
Your Next Thrift Trip: A Simple Checklist to Bring
Before your next visit, it helps to have a short mental list rather than trying to remember every detail in the moment. Here's a condensed version you can run through in under a minute per item.
- Hold the item up to light and check underarms, cuffs and knees for thinning.
- Stretch any elastic firmly and watch how fast it snaps back.
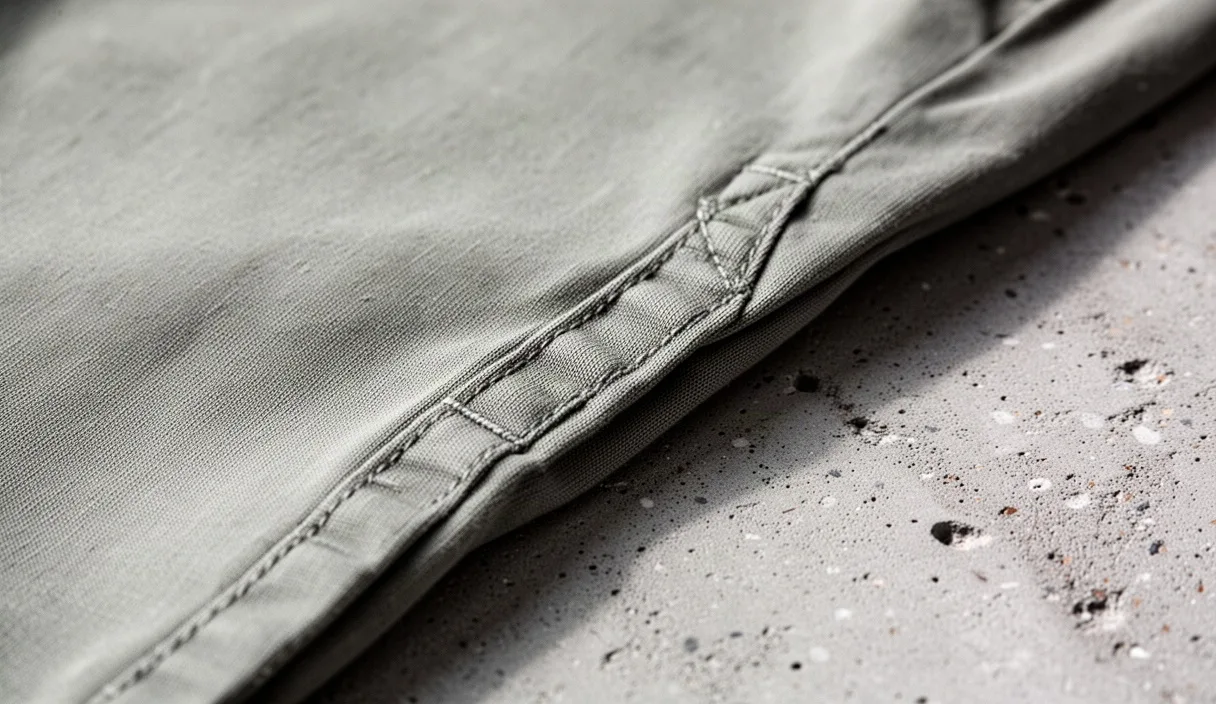
- Flip the garment inside out and check seams for fraying or repairs.
- Smell the fabric closely for mildew, smoke or chemical odors.
- Check collars and cuffs in natural light for hidden stains.
- Decide if any visible damage is a quick fix or a dealbreaker.
Keeping this list in mind turns a thrift trip from a gamble into a quick, confident decision process. The more you practice these checks, the faster they become, until inspecting a garment takes less time than reading its price tag. If you're ever unsure about fabric safety, especially with vintage items that may have been treated with older dyes or finishes, a quick question to the store staff or a local dry cleaner can give you peace of mind before you buy.