 Thistle & Seam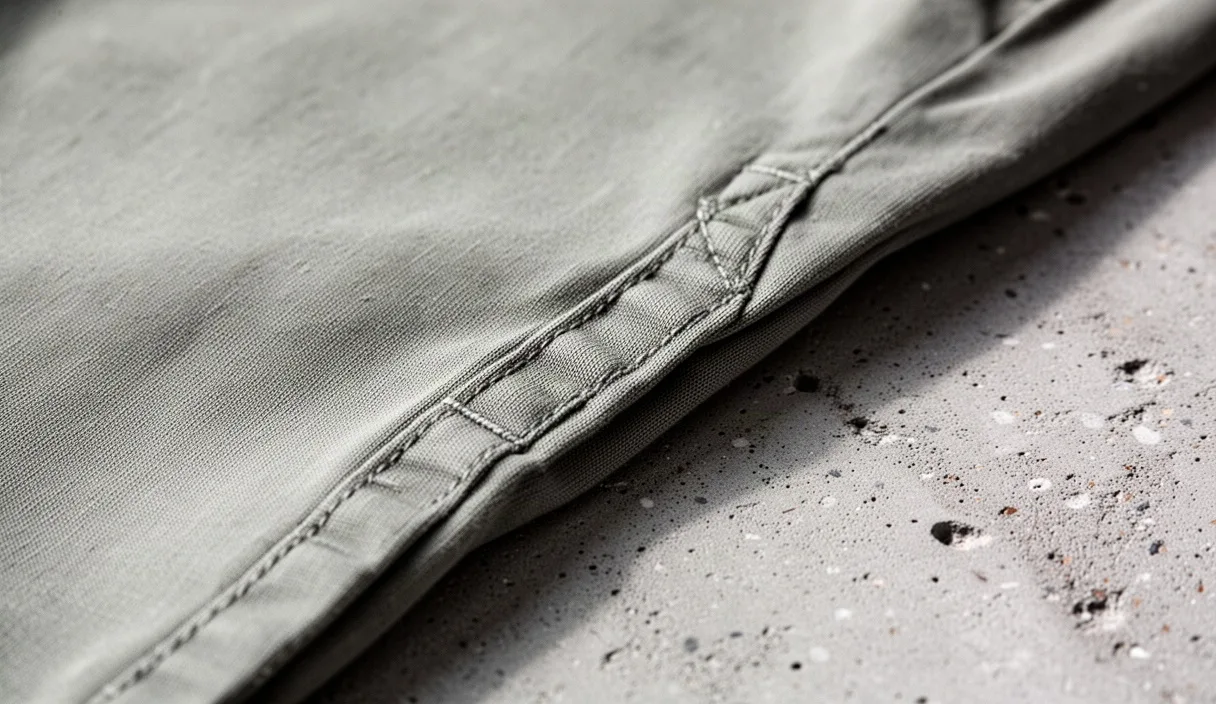

Why does one shirt survive five years of washing while an almost identical one unravels at the seams after a few months? The difference usually has nothing to do with the fabric printed on the label. It comes down to stitching, the thousands of small loops of thread that hold the pieces of cloth together. Stitching is mechanical, like the rivets on a bridge, and just like rivets, it can be inspected before you trust it with any weight.
This guide walks through what to look for, what tools you already carry in your pocket, and what a few seconds of gentle tugging can tell you. None of this requires special training. It requires slowing down for about ninety seconds before you pay, which is less time than most people spend deciding which filter to put on a photo of the item.
Why Stitching Quality Predicts a Garment's Lifespan
Think of a seam the way you'd think of a zipper on a backpack. A zipper with fine, evenly spaced teeth closes smoothly for years. A zipper with teeth that are too far apart, or misaligned, catches and eventually splits. Stitching works on the same principle: each stitch is a small point of load-bearing contact, and the spacing, tension and thread type determine how much pulling, stretching and washing the seam can take before it fails.
A garment can be made from excellent fabric and still fall apart quickly if the stitching is weak, because the seams are almost always the first point of failure, not the cloth itself. Fabric usually wears thin gradually and visibly. Seams tend to fail suddenly, at a single weak point, often at the underarm, the crotch, or wherever the body puts repeated stress on the cloth.
This is why tailors and factory inspectors look at seams before anything else when judging construction quality. A $40 shirt with dense, even stitching can outlast a $150 shirt with sloppy seams, because the stress points are reinforced properly in the cheaper garment. Price is a weak predictor of stitching quality. Direct inspection is a strong one.
How to Check Stitch Density With a Quick Count
Stitch density is simply how many stitches fit into a given length of seam. More stitches per inch generally means a stronger, more durable seam, up to a point, because the thread is anchored more times along the same distance of fabric. Fewer stitches mean each one carries more load, which is why loosely stitched seams tend to gap or burst first.
You do not need a tool for this. Use the measuring markings most phone cases or wallets have, or simply use your thumb, which for most adults measures close to one inch across the first joint. Lay it along a seam and count the individual stitches crossing that inch.
- 8 to 10 stitches per inch: Typical for mid-range ready-to-wear shirts, dresses and pants. Adequate for normal wear.
- 10 to 14 stitches per inch: Common in well-made tailoring and better denim. Noticeably sturdier under stress.
- Fewer than 6 stitches per inch: A warning sign on any seam that takes weight or movement, such as inseams, underarms or waistbands.
Check this at two or three different seams on the same garment, not just one. Factories sometimes rush certain seams, like the hem, while reinforcing others, like the side seam. A single good reading does not guarantee the whole garment was sewn with the same care.
Seam Types Compared: French, Bound and Overlocked
Not every seam is built the same way, and the type of seam tells you something about both durability and the price point the garment was designed for. A seam is really just a strategy for hiding and protecting raw fabric edges so they do not fray, and some strategies are more robust than others.
A French seam encloses the raw edge entirely inside a second fold of fabric, so there is nothing exposed to fray at all. It is common on finer blouses, lingerie and lightweight dresses, where a bulky seam would show through the fabric. A bound seam wraps the raw edge in a strip of fabric or bias tape, visible as a thin ribbon of trim along the inside seam. It is sturdy and common in outerwear and structured garments. An overlocked seam, the one most people recognize from the inside of a t-shirt, uses a looping stitch that trims and finishes the edge in one pass. It is fast and inexpensive to produce, and it performs fine on knit fabrics that do not fray easily, but it is a weaker finish on woven fabrics like cotton poplin or linen.
| Seam Type | Typical Use | Durability Signal |
|---|---|---|
| French seam | Blouses, dresses, lingerie | High, but only on lightweight fabric |
| Bound seam | Jackets, coats, structured garments | High, holds up under stress |
| Overlocked seam | T-shirts, knitwear, casual basics | Moderate, fine for knits, weaker on woven fabric |
None of these is automatically "bad." An overlocked seam on a cotton jersey t-shirt is completely normal and appropriate. The same overlocked finish on a woven silk shirt, where the fabric frays easily, is a sign of cost-cutting that will likely show up as loose threads within a year.
What Loose Threads and Puckering Tell You
A single loose thread hanging off a seam is not automatically a problem, the same way one stray hair on a sweater is not a sign the sweater is falling apart. What matters is whether pulling gently on that thread unravels the stitching next to it. If it does, the seam was likely sewn without a proper lock stitch at the end, meaning the whole line of thread can run like a pulled sweater sleeve.
Puckering, the small ripples or bunching you see along a seam, is a different signal. It usually means the fabric and the thread tension were mismatched during sewing, often because a machine was set for a thinner or thicker fabric than the one actually used. Puckering is mostly cosmetic on sturdy fabrics like denim, but on delicate fabrics like silk or rayon, it can be a preview of a seam that will distort further the first time it is washed.
A quick way to tell the two issues apart: run your fingers along the seam with the fabric held flat. If it ripples under your fingers but lies flat again when stretched slightly, that is tension-related puckering, usually tolerable. If sections of the seam look uneven in width, with some stitches tight and others loose, that is inconsistent construction, which tends to fail unevenly over time rather than wearing out evenly.
Testing a Seam Under Gentle Tension
This is the closest thing to a stress test you can do in a fitting room without damaging the garment. Hold the fabric on either side of a seam, about two inches from the stitching line, and pull outward slowly with both hands, the way you'd test whether a drawstring is tied securely. You are not trying to rip anything. You are applying roughly the same pulling force your body would put on a seam while sitting down, bending over or reaching overhead.
Watch the seam itself while you do this, not the fabric around it. A well-sewn seam will show the thread flex slightly and the fabric stretch a little, then return close to its original shape. A weak seam will show small gaps opening between stitches, sometimes called "seam grin" because you can see slivers of the inside lining or raw fabric peeking through like teeth.
Test this at three locations: the underarm seam on tops, the crotch and inseam on pants, and the waistband seam on skirts and trousers. These three points take the most repeated stress during normal wear, and they are the most common places garments fail first. If any of them show gapping under gentle, hand-applied tension, the garment will very likely show real damage within a few months of normal wear.
A Five Point Checklist for the Fitting Room
Here is the condensed version to run through before you commit to a purchase. It takes about two minutes once it becomes a habit.
- Count stitches per inch at two different seams. Look for at least 8, and more at stress points like underarms or inseams.
- Identify the seam type and check it matches the fabric. Overlocked seams are fine on knits, questionable on wovens and delicate fabrics.
- Pull gently on any loose thread to see if nearby stitches unravel. If they do, that seam has no secure lock stitch.
- Check for puckering on delicate fabrics specifically, since it predicts distortion after washing more reliably than on sturdy fabrics.
- Apply gentle tension at the underarm, crotch, and waistband. Any visible gapping between stitches is a sign of a weak seam at a high-stress point.
Common Mistakes
The most common mistake is judging a garment by the outside of the seam only, ignoring the inside finish entirely. A seam can look crisp from the outside while the inside is raw, fraying fabric with no overlock or binding at all, which will shed threads with every wash.
Another frequent error is assuming higher thread count or heavier fabric compensates for poor stitching. It does not. A thick canvas jacket sewn with only 5 stitches per inch at the shoulder seam will still fail there, regardless of how tough the canvas feels in your hands.
Shoppers also tend to inspect only one seam, usually the most visible one, like a center-front seam on a dress, and assume the rest of the garment matches. As noted earlier, construction quality is often inconsistent within a single piece, so checking only one location gives an incomplete picture.
Next Steps
Start by practicing this checklist on clothes you already own, especially ones that have held up well and ones that fell apart quickly. Comparing the two side by side will train your eye faster than reading about stitch counts in the abstract, the same way comparing a worn-out shoe sole to a new one teaches you more about wear patterns than a diagram ever could.
If you are investing in a higher-cost item like a coat, suit or wedding garment, and you are uncertain about what you are seeing, it is reasonable to ask a tailor or seamstress for a quick opinion before you buy, or to have alterations reviewed by a professional once the piece is yours. A five-minute consultation is inexpensive compared to replacing a garment that fails at the seams within its first year.